
As part of our rental agreement—something that might happen when you rent a place tucked away in the woods from friends—we agreed to do some fixing up around the house.
So far, we've repaired Window Screens and Painted a Few Rooms. My husband and father-in-law also added boards to the deck and patched up some places in the walls with joint compound (also known as drywall mud).
Next on our list? Adding the door trims!
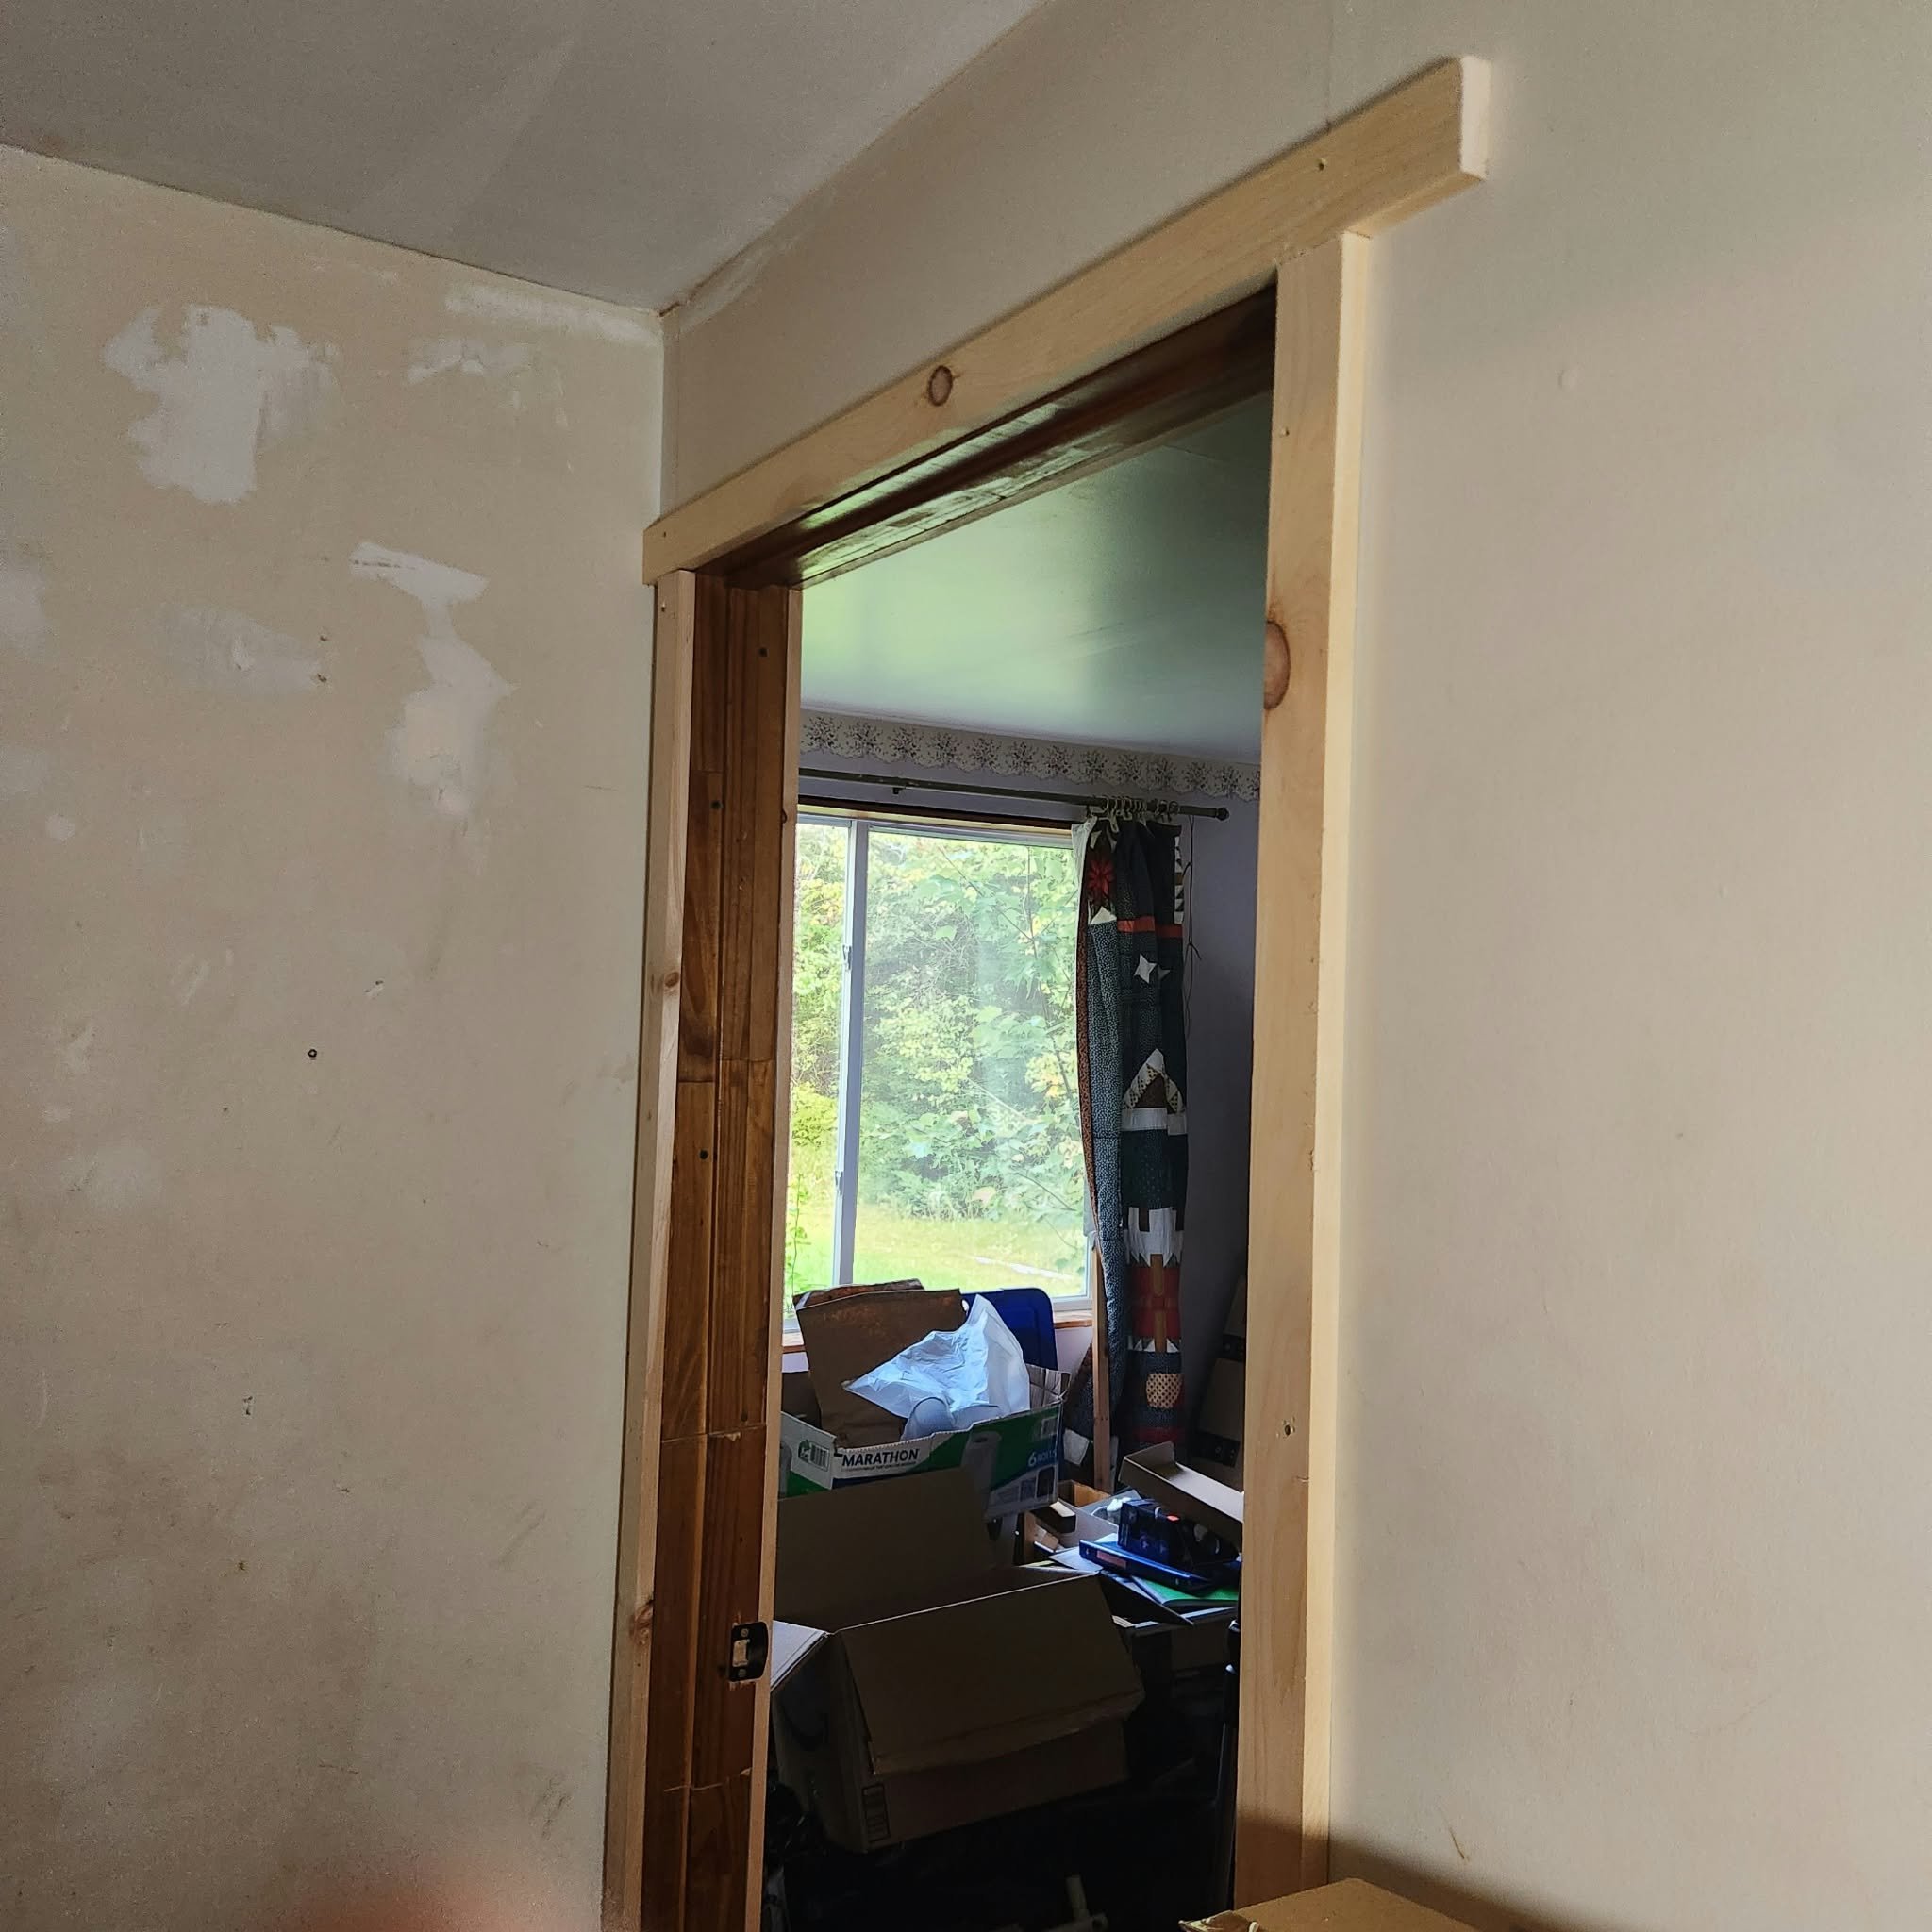
How We Added Our Door Trim
Cut the boards. My husband and father-in-law made the rough cuts at my in-laws' house before bringing the boards over to our place.
Measure the door trim. Measure carefully to determine the exact size you need, and mark where each board should be cut.
Make the final cuts. Use a clamp to hold the board securely in place while cutting it to the correct size.
Position the boards. Bring the boards back inside and have someone help hold them in place around the doorway.
Line up your screws. Using an electric screwdriver or drill, position your screws where you want to secure the boards.
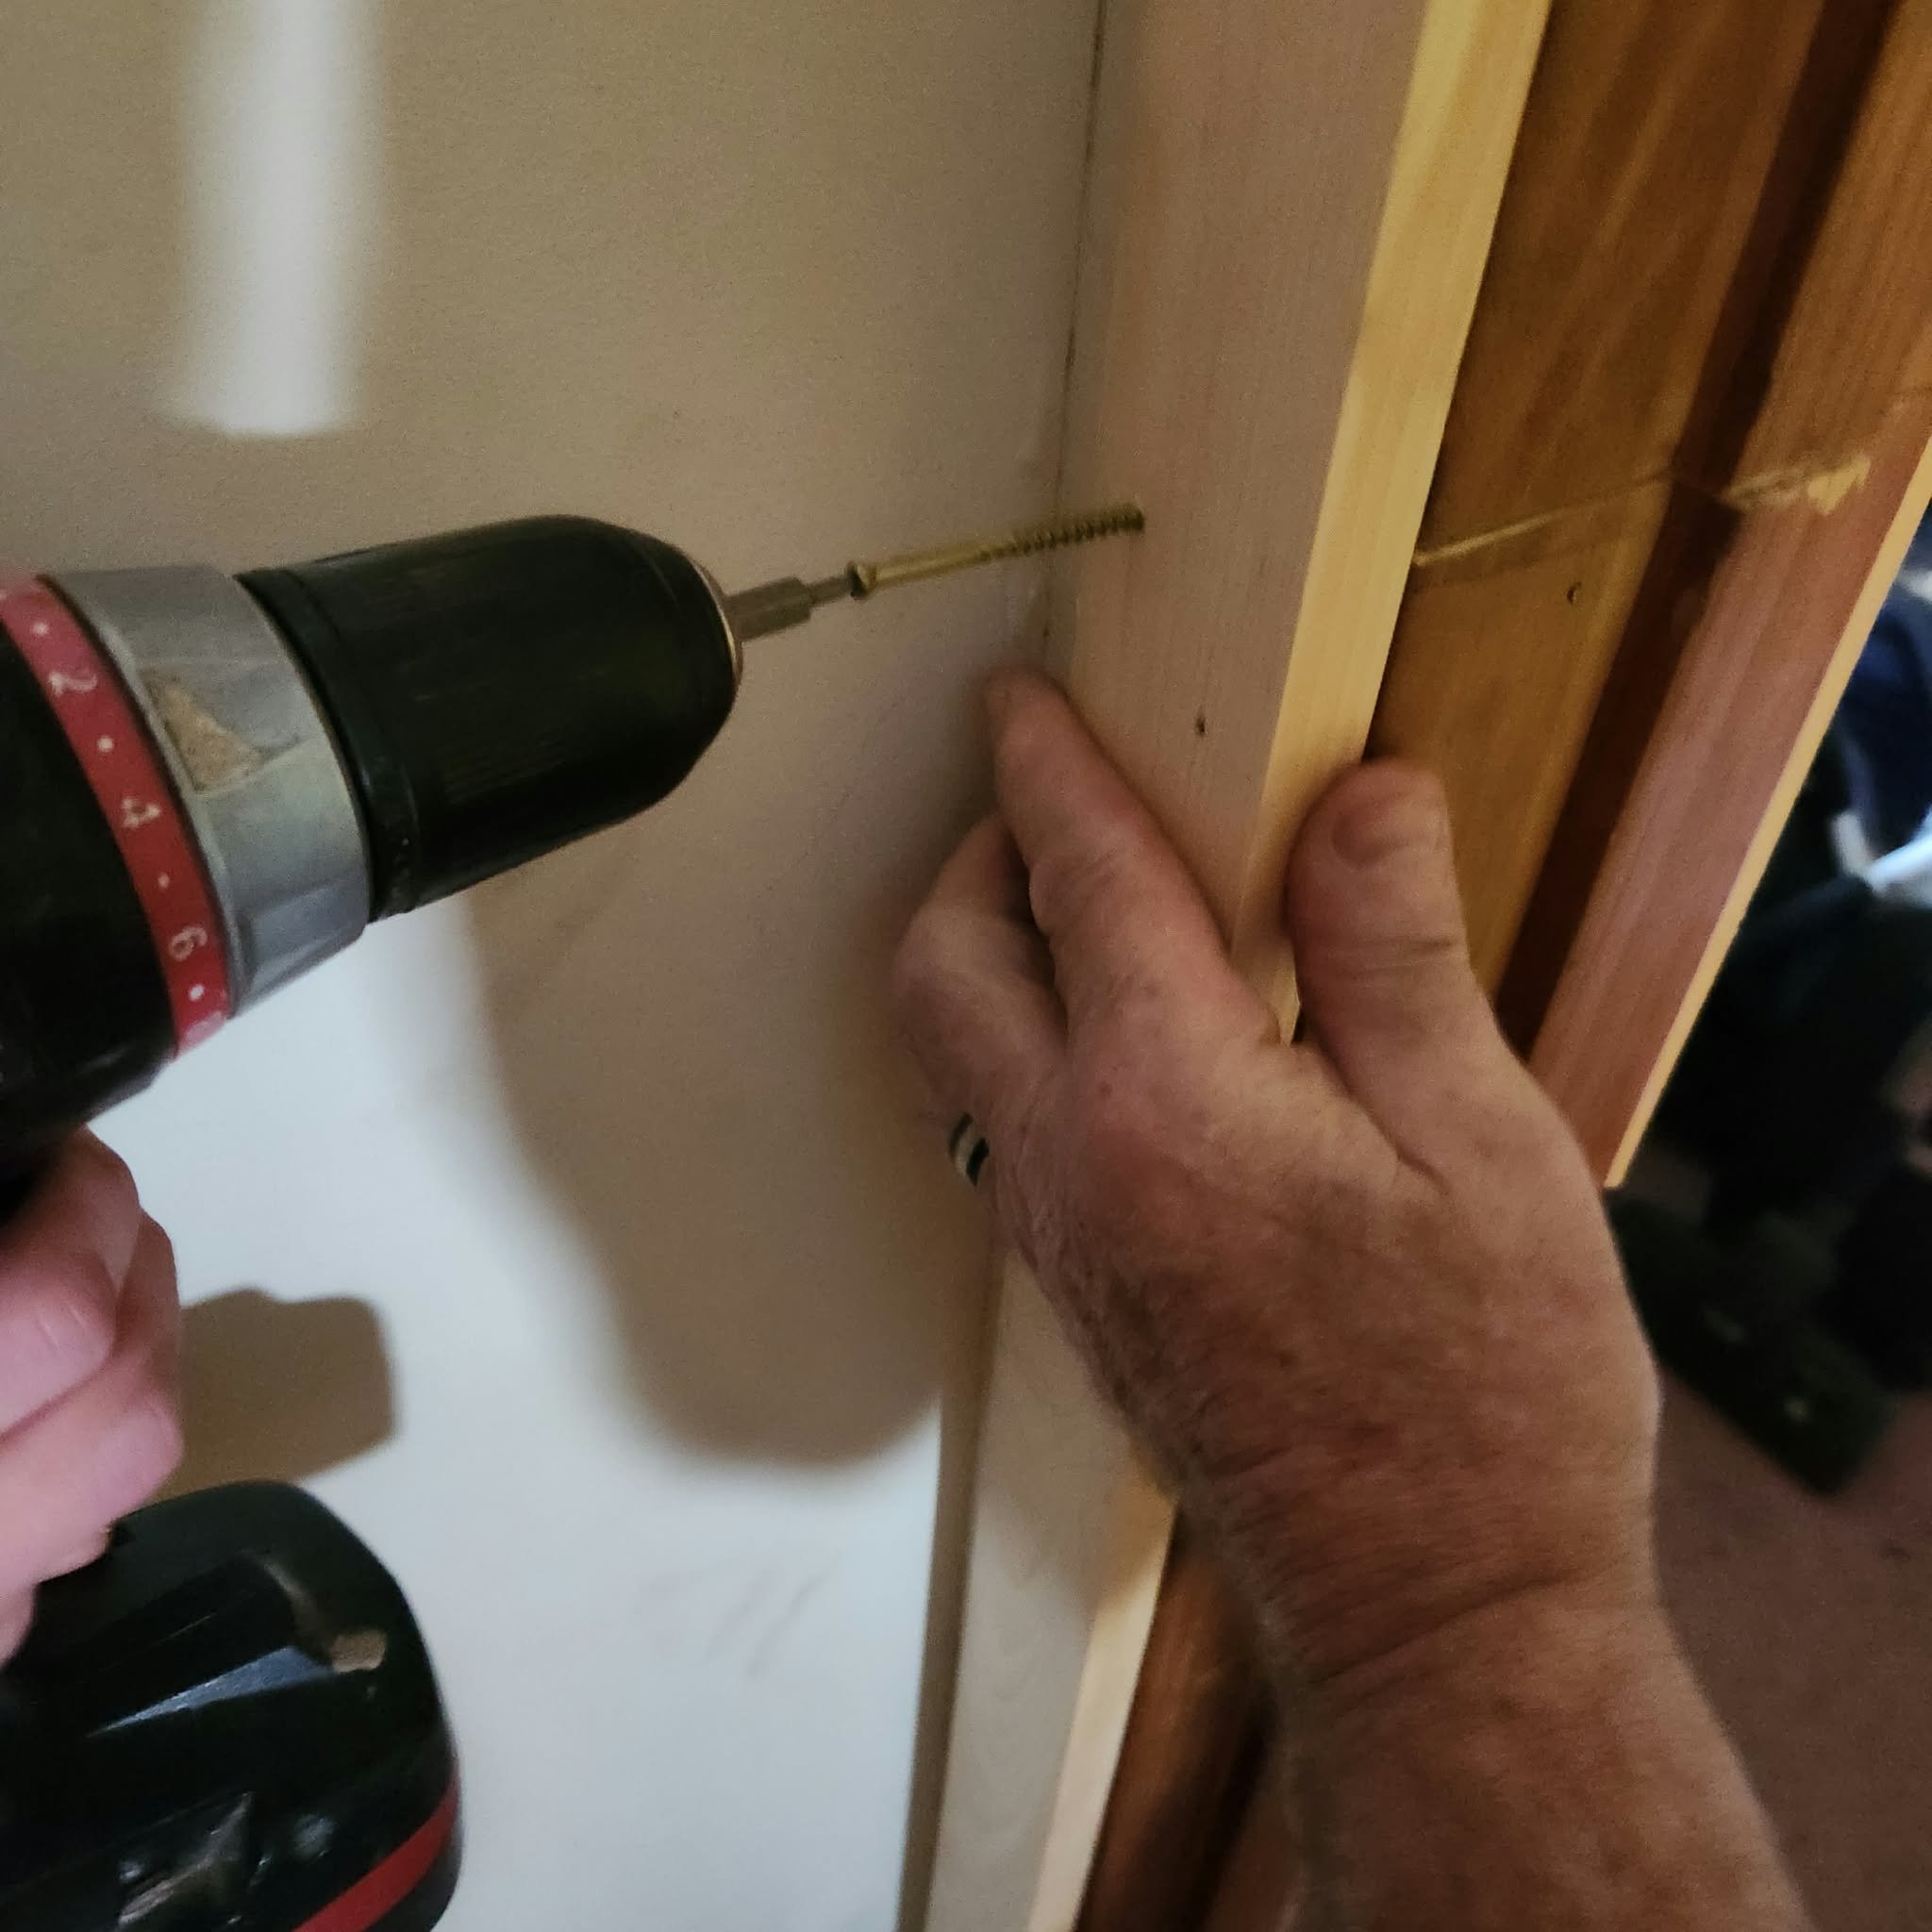
6. Secure the boards.
Drive the screws through the trim and into the wood behind it. Make sure to keep the screws straight and perpendicular to the surface. If they start crooked, they'll go in crooked!
What's Next?
Eventually, we'd like to stain the boards. You could also paint them or leave the natural wood exposed if you prefer a minimalist look.
But that's a project for another day!
Thanks for reading!
💜
Laura
