
DIY Candles
Funny story about how I discovered I had a block of wax in my house. I thought it was a block of castile soap. When I melted it to process it into liquid hand soap, I discovered that nope, it’s actually a block of candle wax, most likely paraffin wax. No idea where it came from or how it ended up in my bathroom cupboard, but it’s on its way to becoming a candle.
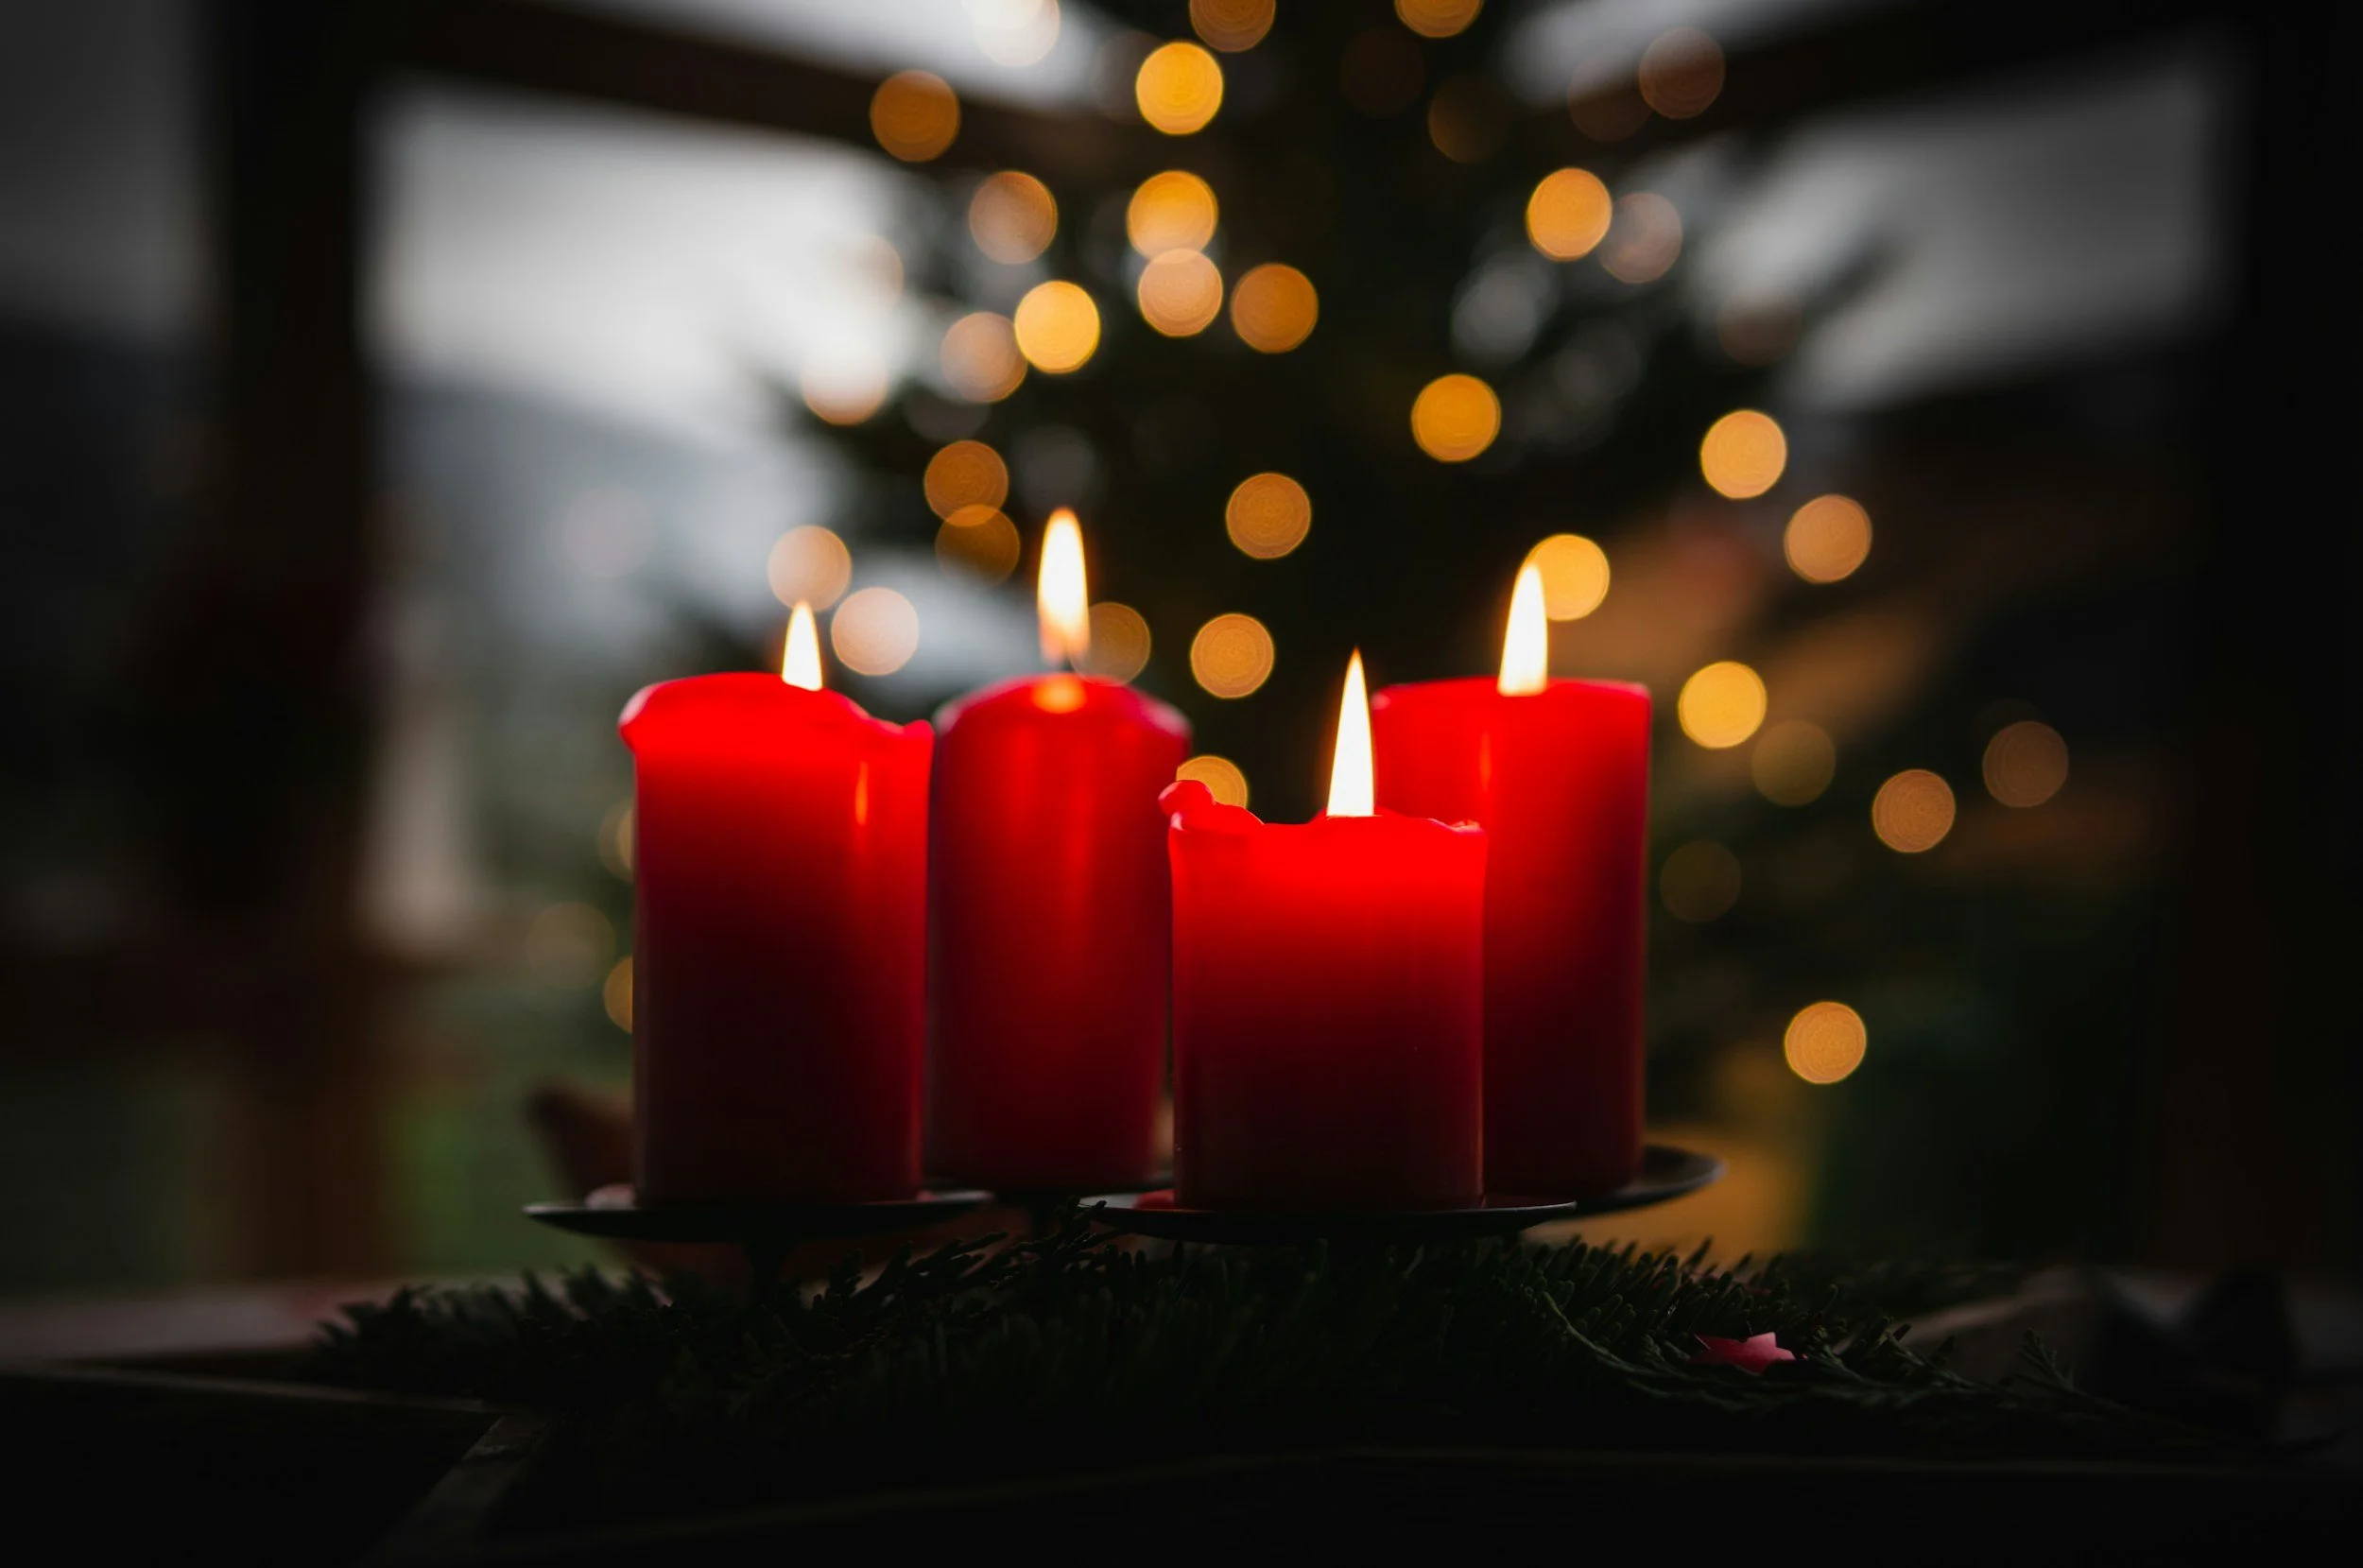
I think candles are one of the most universal Christmastime gifts. They’re small, so they don’t take up a ton of space.
They’re practical, between adding a nice mood with their dim glow and a pleasant smell in the air. In the event of a power outage, they can save the day (errr…night).
They’re also easy to make!
Supplies needed
Wax
Double boiler (or one small pot and one larger pot)
Candle wick
Wick base (you can get these separate or attached to the wick)
Wick sticker or hot glue
Candle holder
Wick holder
Essential oil (optional)
Steps:
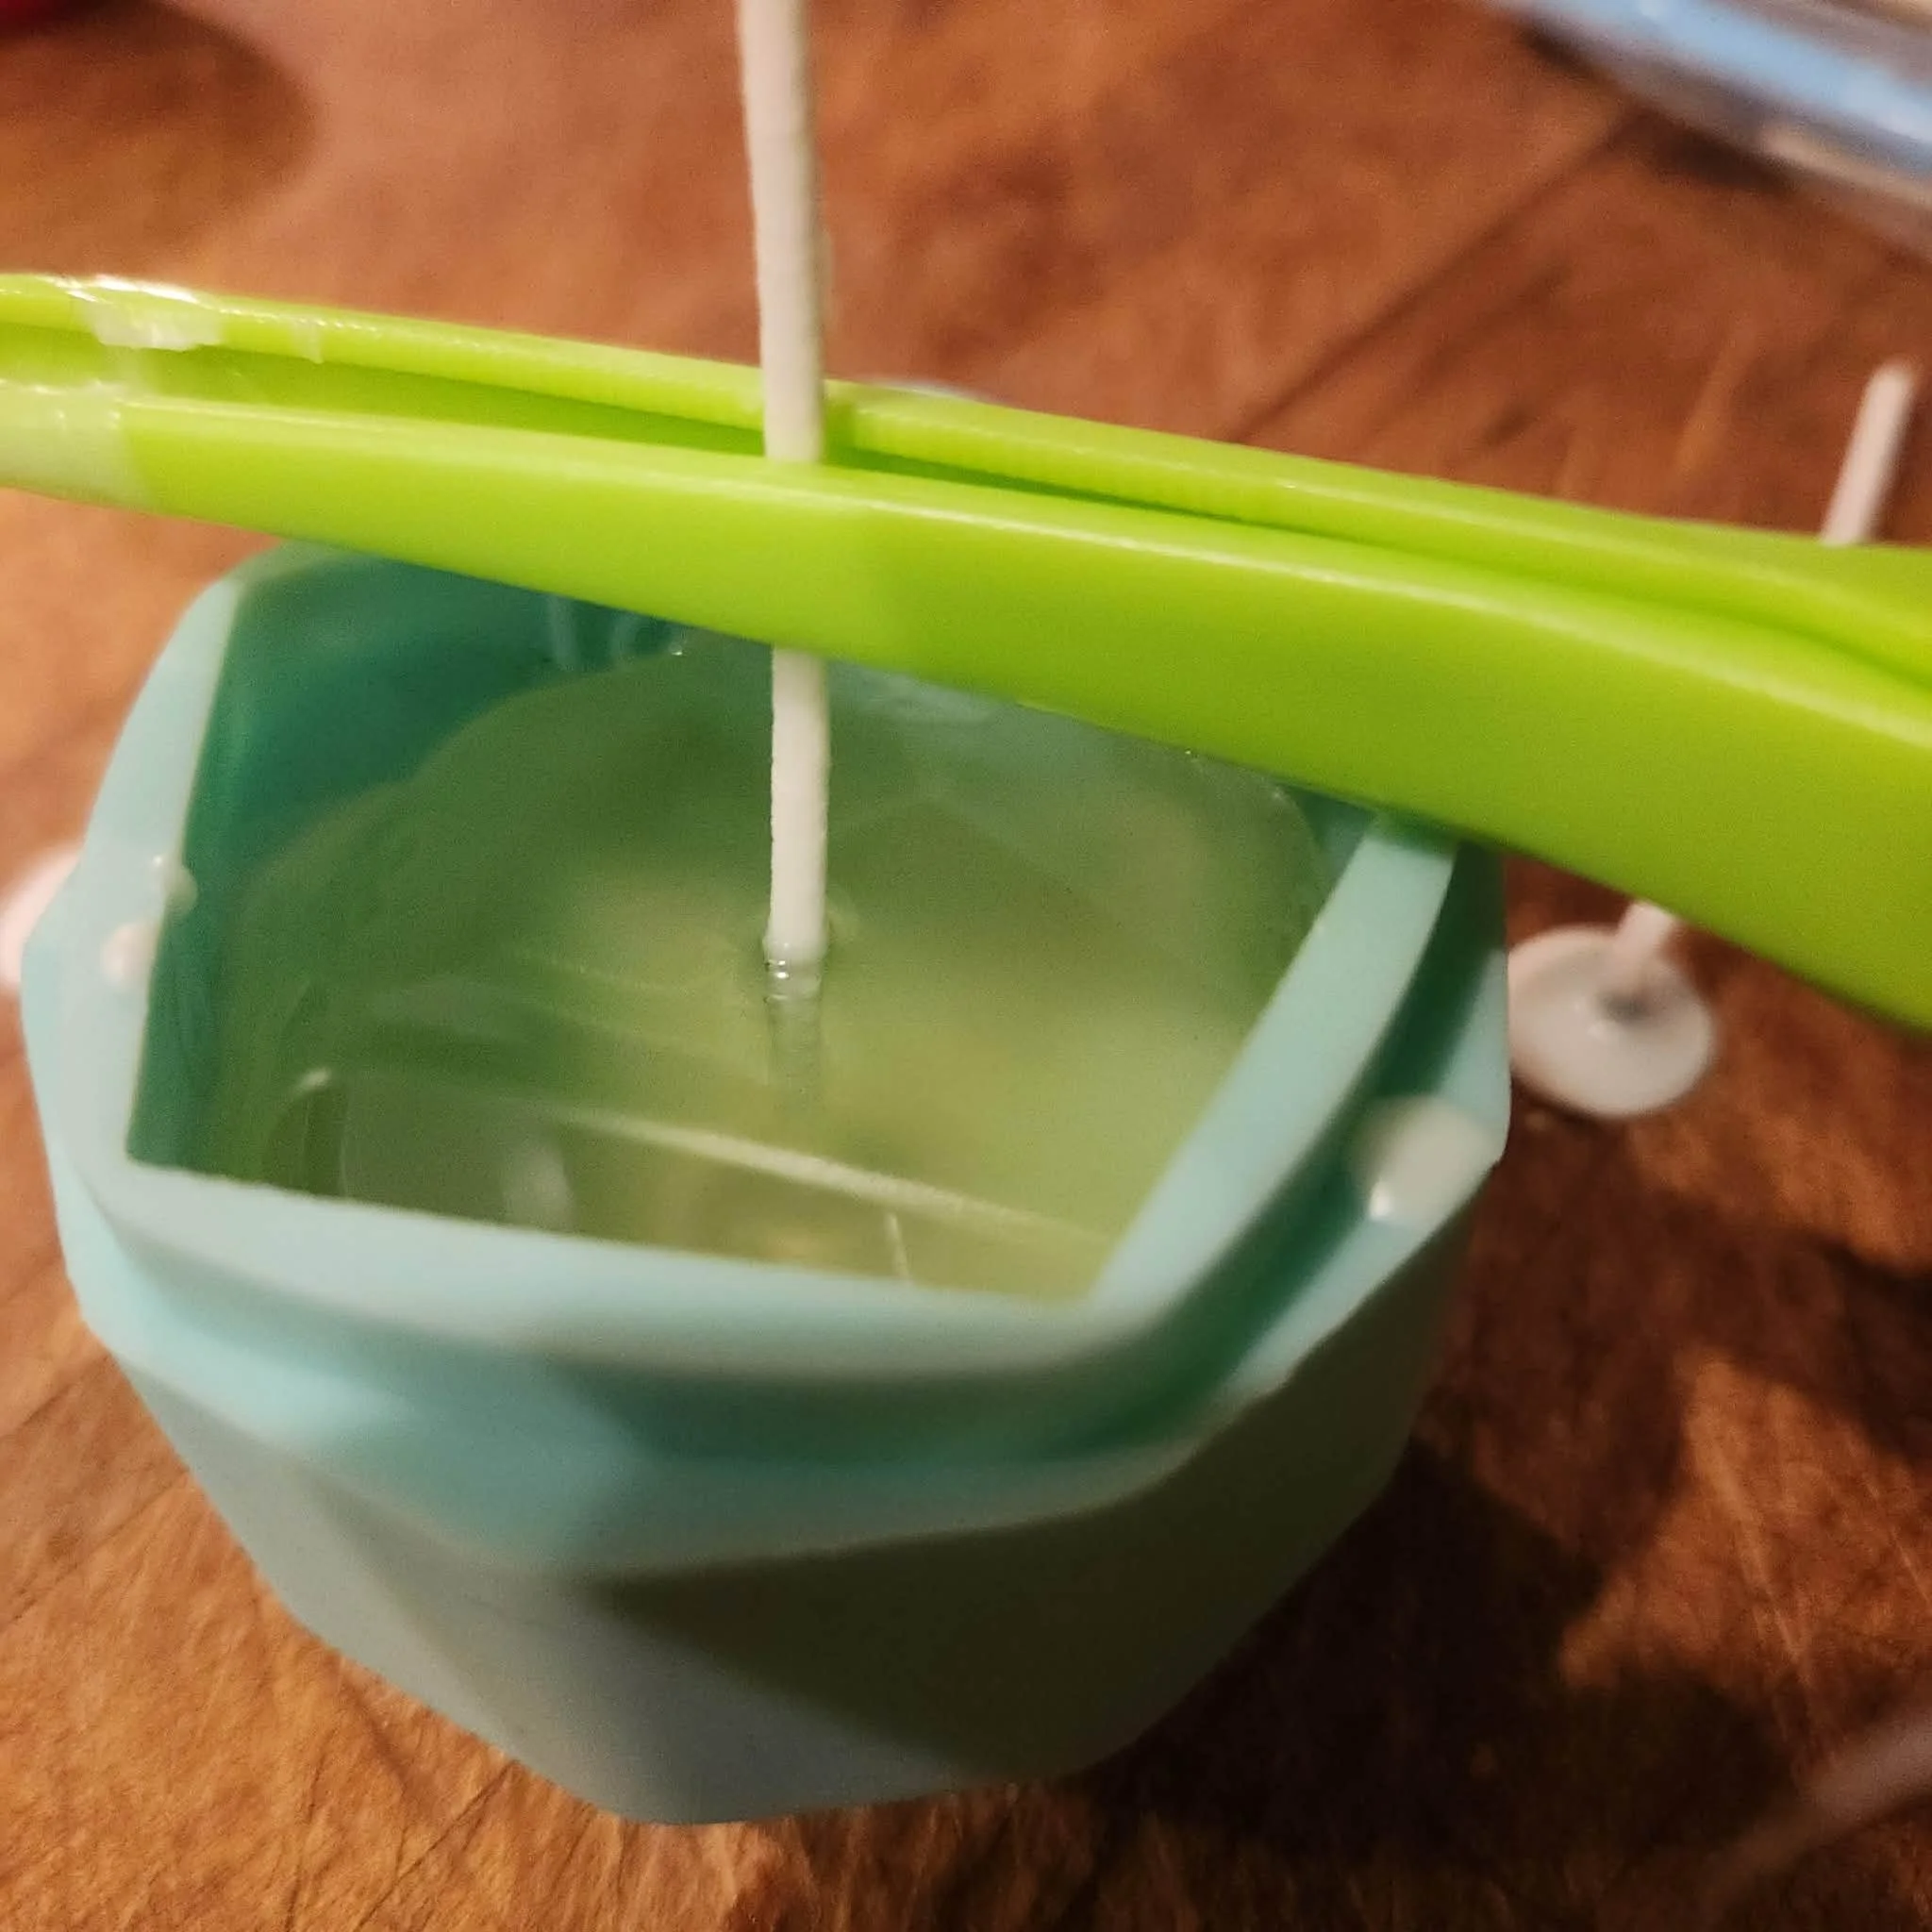
Place wick, with the base attached and sticker/glue attached, into your candle holder. (If you are using glass, make sure it’s tempered. I like to use silicone because it’s heat resistant and is easy to pop the candle out.)
Secure the wick with the wick holder so that it stands up straight.
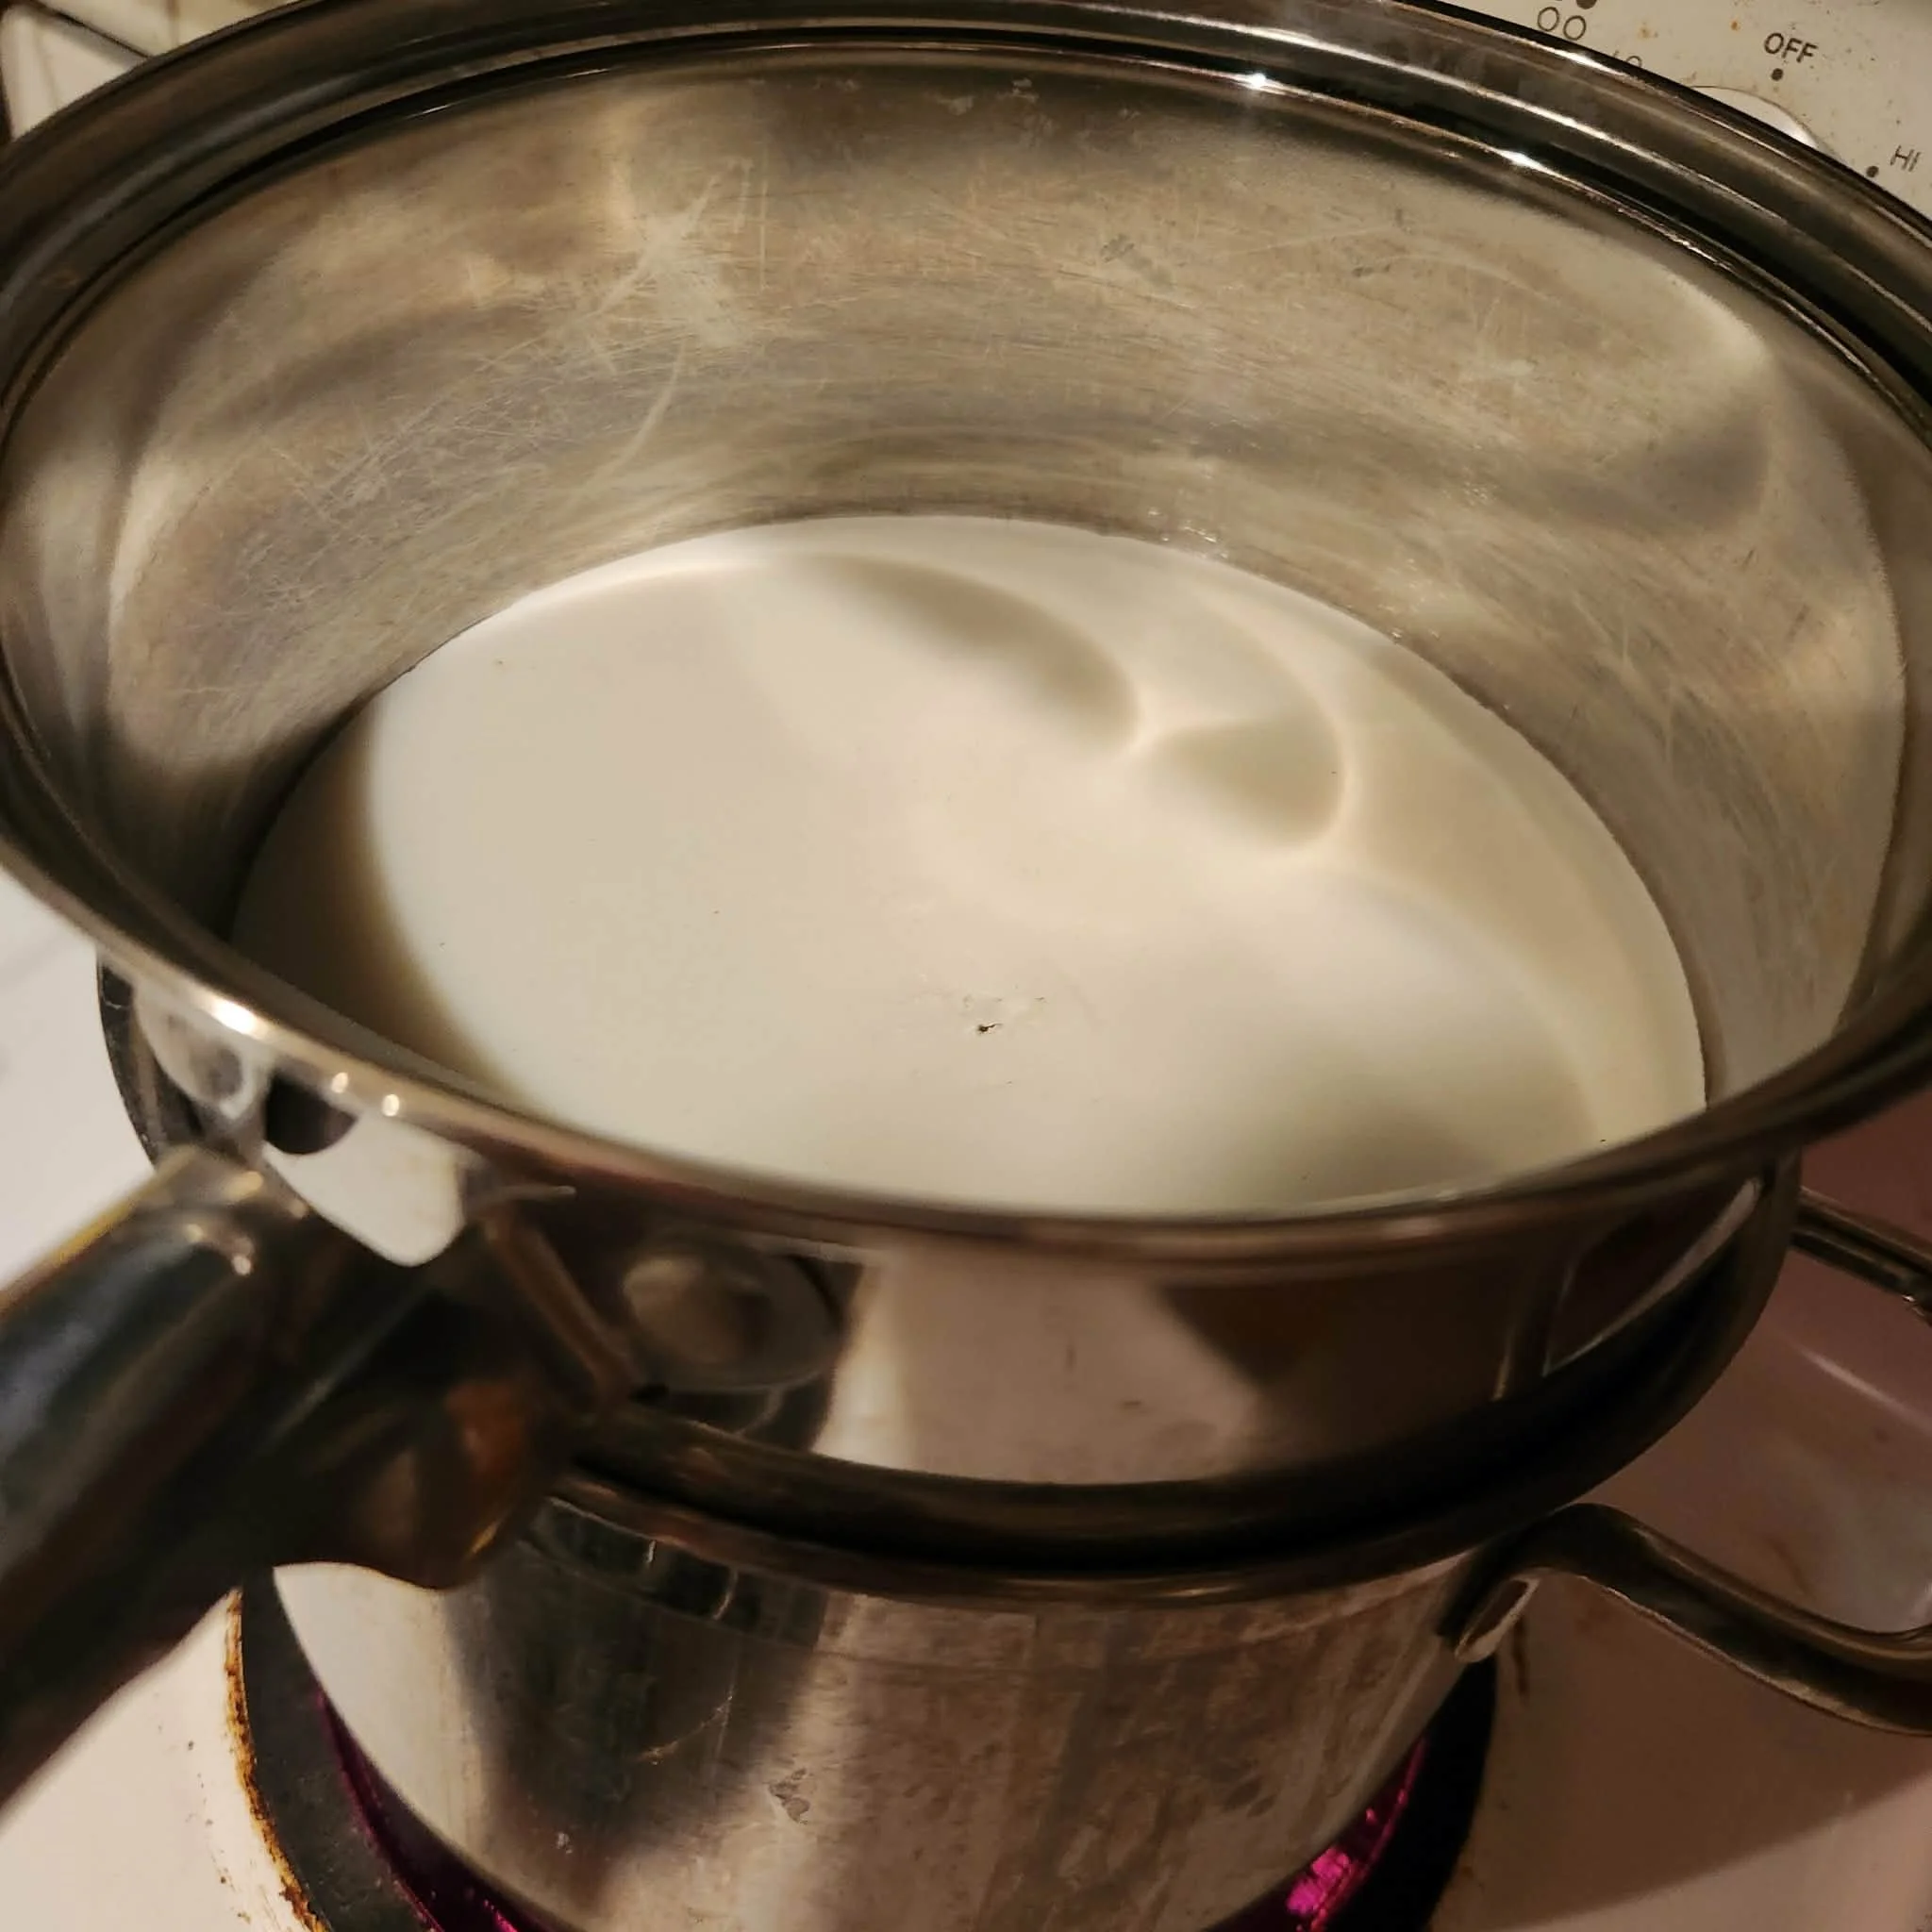
Melt the wax in the small pot/pouring pot.
Add essential oil if desired.
Pour into candle holder and allow to cool completely.
Though paraffin wax isn’t the most environmentally-friendly choice for candles, I’m a big proponent of using what you have. Sometimes, the most sustainable option is the one in your house already! So if you have it, you can either use it, give it away to someone who will, or toss it out.
Tips:
The wax melts fast and cools fast. If it cools against your pot before you’re finished pouring, remelt.
You can gently nudge the wax in place if you have a little dent in your candle while it’s setting.
Trim your wick if needed once candles are cooled.
Light and enjoy!
Thanks for reading!
💜
Laura